Overview
This comprehensive case study walks through how Sarah, a UK fitness coach with a modest but loyal audience, launched a professional merch line without taking on stock risk. The process combined a one-time £200 setup (for visuals, design refinement, and Shopify build) with a Pay as You Sell model that only charges for production after each sale. What follows shows why the £200 matters, exactly how we help, and how the approach converts rough ideas into merch that looks right, feels right, and sells.
Client background
Sarah runs small-group classes, 1:1 coaching, and an Instagram page with around 3,000 followers. She’d been asked for hoodies and tees by clients for years, but she avoided it because she didn’t know how to design apparel, had no time to figure out Shopify product variants, and didn’t want piles of unsold stock sitting in her hallway. Her goals were simple: a clean hoodie, a flattering tee, and a small initial range she could expand later if it worked.
The challenge
Sarah’s assets were a thin, text-heavy logo and a few phone mockups. The logo looked fine on a screen, but it wouldn’t embroider cleanly, and at small sizes the letterforms would fill in. She also wasn’t sure which garments to choose, how large graphics should be, or how to present multiple colours and sizes in a store. In short: lots of enthusiasm, no clear path.
Why the £200 setup fee matters
The £200 is not an extra; it is the foundation. It covers the upfront work that prevents expensive mistakes and accelerates launch.
What’s included in the setup
-
Discovery and brand fit: a short workshop to clarify audience, tone, colour preferences, and use cases (training, casual wear, gifting).
-
Design refinement: adjusting the logo for production (e.g., increasing stroke weight, simplifying micro-details), preparing embroidery-ready and print-ready versions.
-
Visual system: deciding which designs suit embroidery and which suit transfer print, plus guidance on placement (left chest, centre chest, back).
-
Mockups: realistic garment visuals in key colours and sizes so Sarah can “see” the range before committing.
-
Variant planning: mapping out sizes (XS–6XL where available), colours, and print/embroidery options without overwhelming the store.
-
Shopify build: creating products, variants and images; writing titles, descriptions and size guides; adding pricing, taxes, and shipping profiles; setting SEO titles and meta descriptions; and enabling order notifications.
-
Launch checklist: imagery, FAQs, returns policy, care instructions, and a simple social launch plan.
The outcome of this setup is a professional storefront, cohesive visuals, and clear, production-safe designs. After this one-time step, Pay as You Sell takes over—no stock risk, no minimums.
How we help, step by step
1) Discovery and guardrails
We start with a short call and a shared brief to understand goals, audience and brand vocabulary. For Sarah, the vibe was “minimal, premium fitness”—so we shortlisted mid-weight hoodies, 100% cotton tees, and a small, clean embroidery for everyday wear. We also set practical guardrails: minimum line thickness for embroidery, maximum print area for transfer, recommended thread and garment colour pairings, and do’s/don’ts to avoid costly reworks.
2) Design translation for production
We rebuilt Sarah’s logo into two production-safe versions:
-
Embroidery version: increased stroke weight and simplified letter spacing to avoid thread fill-in, with a stitch count planned to sit neatly on a left-chest placement.
-
Print version: preserved finer detail, exported at 300 DPI at actual print size, with transparent background files ready for transfer print.
We documented placements (left chest 80–100 mm wide; centre chest 240–300 mm wide), safe margins from seams, and colourways that remain legible on light and dark garments.
3) Visuals and merch range
We created realistic mockups for:
-
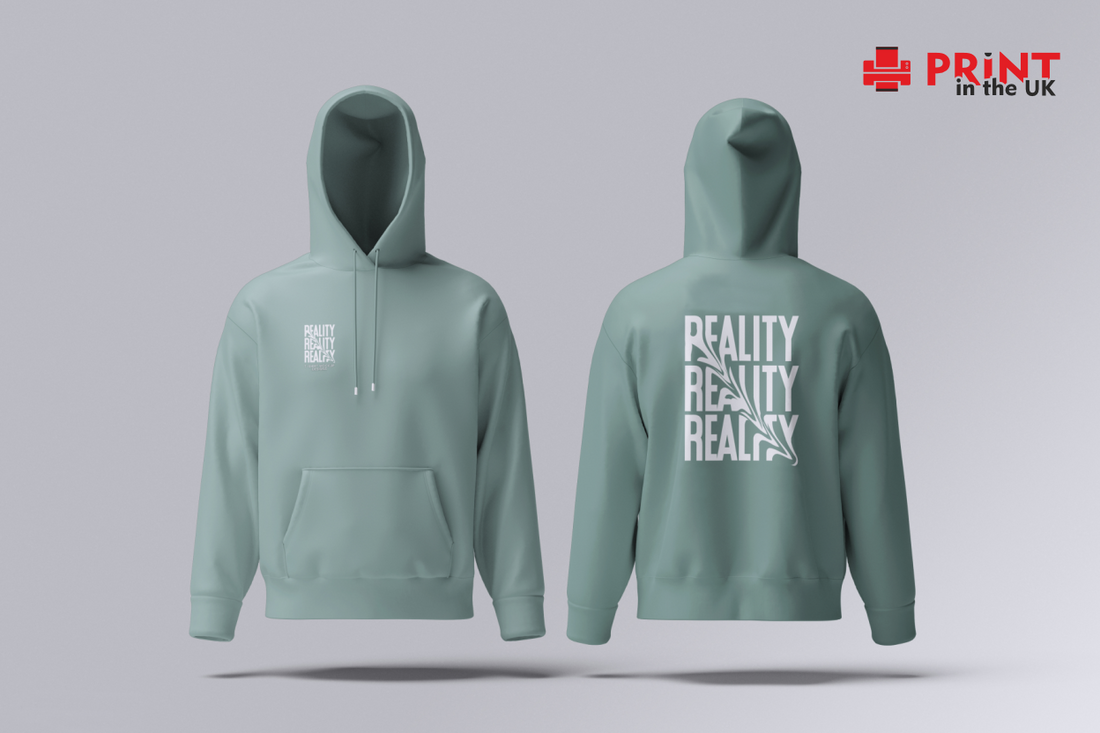
A mid-weight hoodie with left-chest embroidery and an optional back print for limited drops.
-
A classic crew tee with centre-chest transfer print for the main logo and a small nape detail.
-
A cropped women’s tee with a minimal mark, responding to her audience’s requests.
By showing side-by-side embroidery vs print mockups, Sarah could immediately see what looked premium, what felt sporty, and how each option would price out at checkout.
4) Shopify build and variant logic
The build included:
-
Products and variants: sizes, colours, and finish (embroidery/print) without overwhelming the customer. We grouped choices so shoppers select size first, then colour.
-
Imagery: front, back, and close-up detail images for each variant family, so buyers see fabric and finish quality.
-
Copy: concise, buyer-friendly product descriptions; garment fit notes; care instructions to preserve print/embroidery; and a simple FAQ on delivery times and returns.
-
Pricing and tax: transparent pricing with VAT included where required, plus shipping rules for UK and optional international.
-
SEO: unique page titles, meta descriptions, and alt text for images so search results read cleanly and help conversions.
-
Policies and notifications: confirmation emails, dispatch emails, and a returns path that’s fair and simple.
This work is precisely what the £200 setup covers. It means the store launches as a polished experience on day one, instead of a messy trial-and-error project.
5) Pay as You Sell fulfilment flow
Once live, the process is straightforward:
-
A customer places an order on Sarah’s shop.
-
We receive the order details and produce the garment on demand.
-
We quality-check stitch density, alignment, colour accuracy, and print integrity.
-
We pack and dispatch to the customer, sending tracking back to Sarah’s shop so her customer gets updates.
-
Sarah pays the production cost after the sale—never before.
There’s no bulk buying, no dead stock, and no guesswork on sizes or colours.
Launch plan and timeline
-
Week 1: Discovery, asset collection, and design refinement.
-
Week 2: Mockups, range decisions, and Shopify build (products, variants, images, copy, SEO).
-
Week 3: Final checks, test orders, and public launch with a simple social plan: teaser mockups, a launch post, and a 48-hour “founding buyer” window.
-
Weeks 4–6: Add a limited back-print hoodie and a seasonal colourway based on customer feedback.
What Sarah launched with
-
1 mid-weight hoodie in two colours with left-chest embroidery.
-
1 classic crew tee with centre-chest print and optional nape mark.
-
1 women’s cropped tee with minimal mark.
-
Clear size guides, care instructions, and delivery FAQ.
Early results
-
First 7 days: 25 orders driven by Instagram and class announcements.
-
First month: 63 orders, <3% returns, and strong repeat purchases from her class community.
-
Most-clicked images: left-chest embroidery close-up and hoodie lifestyle shot.
-
Most common sizes: M and L for tees, M for hoodies, with a healthy spread across XS–XL.
Why the approach works
Clarity plus craft. By fixing the design for production first, choosing the right decoration method, and presenting variants simply, customers move from “I like this” to “I’m buying this” without friction. The store looks trustworthy because the visuals, copy, and fulfilment all line up.
Design and production guidelines we share with clients
-
Embroidery prefers bolder shapes and minimum line thickness; tiny script and hairline details are avoided or reworked.
-
Transfer print allows finer lines and gradients; we supply at 300 DPI at print size for crisp results.
-
Colour contrast matters: light thread on dark garments (or vice versa) for legibility.
-
Placement discipline: left chest for subtle branding; centre chest or back for statement designs.
-
Keep product pages simple: fewer, stronger choices convert better than a wall of options.
Customer experience
We included care cards in the product description and order emails: wash cool, inside out, no harsh tumble, and iron inside out on low to protect decoration. We also wrote a short “What to do if there’s an issue” note to make exchanges straightforward. Buyers knew exactly what to expect on delivery times, which reduced support messages for Sarah.
Costing and margins
The £200 setup is a one-off. After launch, Sarah sets retail prices; production is charged only after each sale. Because there’s no stock commitment, cash flow stays positive. We helped her set prices with a healthy margin while keeping perceived value high—embroidery on hoodies positioned as premium, printed tees positioned as everyday essentials.
Iteration and growth
With a successful first month, Sarah added:
-
A limited-run back print hoodie tied to a challenge in her classes.
-
A seasonal colour drop for tees, using the same artwork.
-
A small accessory (embroidered cap) tested via a pre-order window.
We repeated the same steps: refine visuals, produce mockups, add variants, and launch—no new setup fee required unless we’re building a complex new collection from scratch.
Common pitfalls we help clients avoid
-
Over-detailed embroidery that looks messy in real life.
-
Low-resolution artwork that prints fuzzy.
-
Too many product options leading to decision fatigue.
-
Inconsistent imagery that makes the shop feel untrustworthy.
-
Unclear delivery and returns information that stalls checkout.
What the client says
“The £200 setup was the difference between ‘I might try merch one day’ and actually doing it properly. I wouldn’t have known what works in embroidery or how to build the store. We went from idea to launch in three weeks, and it felt easy.”
Why this matters if you’re starting from scratch
Most first-time merch launches fail quietly: the designs don’t translate to fabric, the store is confusing, or the photos undermine trust. By investing a small amount upfront to design and present the range properly, you drastically increase the odds of selling from day one—without the financial risk of stock.
Frequently asked questions
Is the £200 refundable?
No—because it covers real creative and technical work: design refinement, mockups, and a complete Shopify build. The deliverables remain valuable even if you choose to pause.
Do I need finished designs?
No. Bring what you have—logos, sketches, phrases, or even a mood board. We’ll translate it into production-ready artwork and merch visuals.
What are the design limitations?
We’ll guide you. As a rule, embroidery needs bolder lines and limited tiny detail; transfer print handles finer detail. We’ll adapt your artwork accordingly.
How long until I can launch?
A typical project like Sarah’s launches in about three weeks from kickoff, depending on feedback speed and the size of the range.
Can I add products later?
Yes. Once the system is in place, it’s easy to add new designs or garments and test them without stock risk.
Quality assurance
Every order is checked for:
-
Embroidery alignment, thread tension, and stitch coverage.
-
Print clarity, colour accuracy, and correct placement.
-
Garment defects before dispatch.
We stand behind the product: if there’s a production fault, we re-make or refund per policy, keeping both you and your customers happy.
Sustainability note
Producing on demand means there’s no overproduction and far less waste. Choosing durable garments and decoration methods also reduces returns and increases product lifespan, which your customers appreciate.
Post-launch optimisation
We reviewed store analytics after two weeks—traffic sources, conversion rate, and drop-off points. The biggest lift came from swapping the hero image to a lifestyle shot and moving size guidance higher on the page; conversion ticked up immediately. We also added a simple bundle offer (hoodie + tee) during week four, which nudged average order value upward without resorting to heavy discounts.
Metrics snapshot
-
Conversion rate: steady between 2.2% and 2.9% after the image swap.
-
Average order value: increased 14% with the bundle.
-
Support volume: low, thanks to clear delivery info and care guidance.
Key takeaways
-
The £200 setup is a small, one-time investment that turns raw ideas into a professional, ready-to-sell range.
-
Pay as You Sell removes stock risk and lets you grow from real-world demand.
-
Our hands-on creative help—design guardrails, visuals, and a tidy Shopify build—makes your first launch feel confident, not chaotic.
-
With that foundation, you can iterate quickly, add products, and serve your audience with merch that actually gets worn.
Call to action
If you’ve got the idea but not the know-how, start like Sarah: invest in the £200 setup, let us guide the visuals and the build, and launch with Pay as You Sell. You’ll avoid the common traps, protect your cash flow, and put a clean, cohesive merch line in front of customers who are ready to buy.